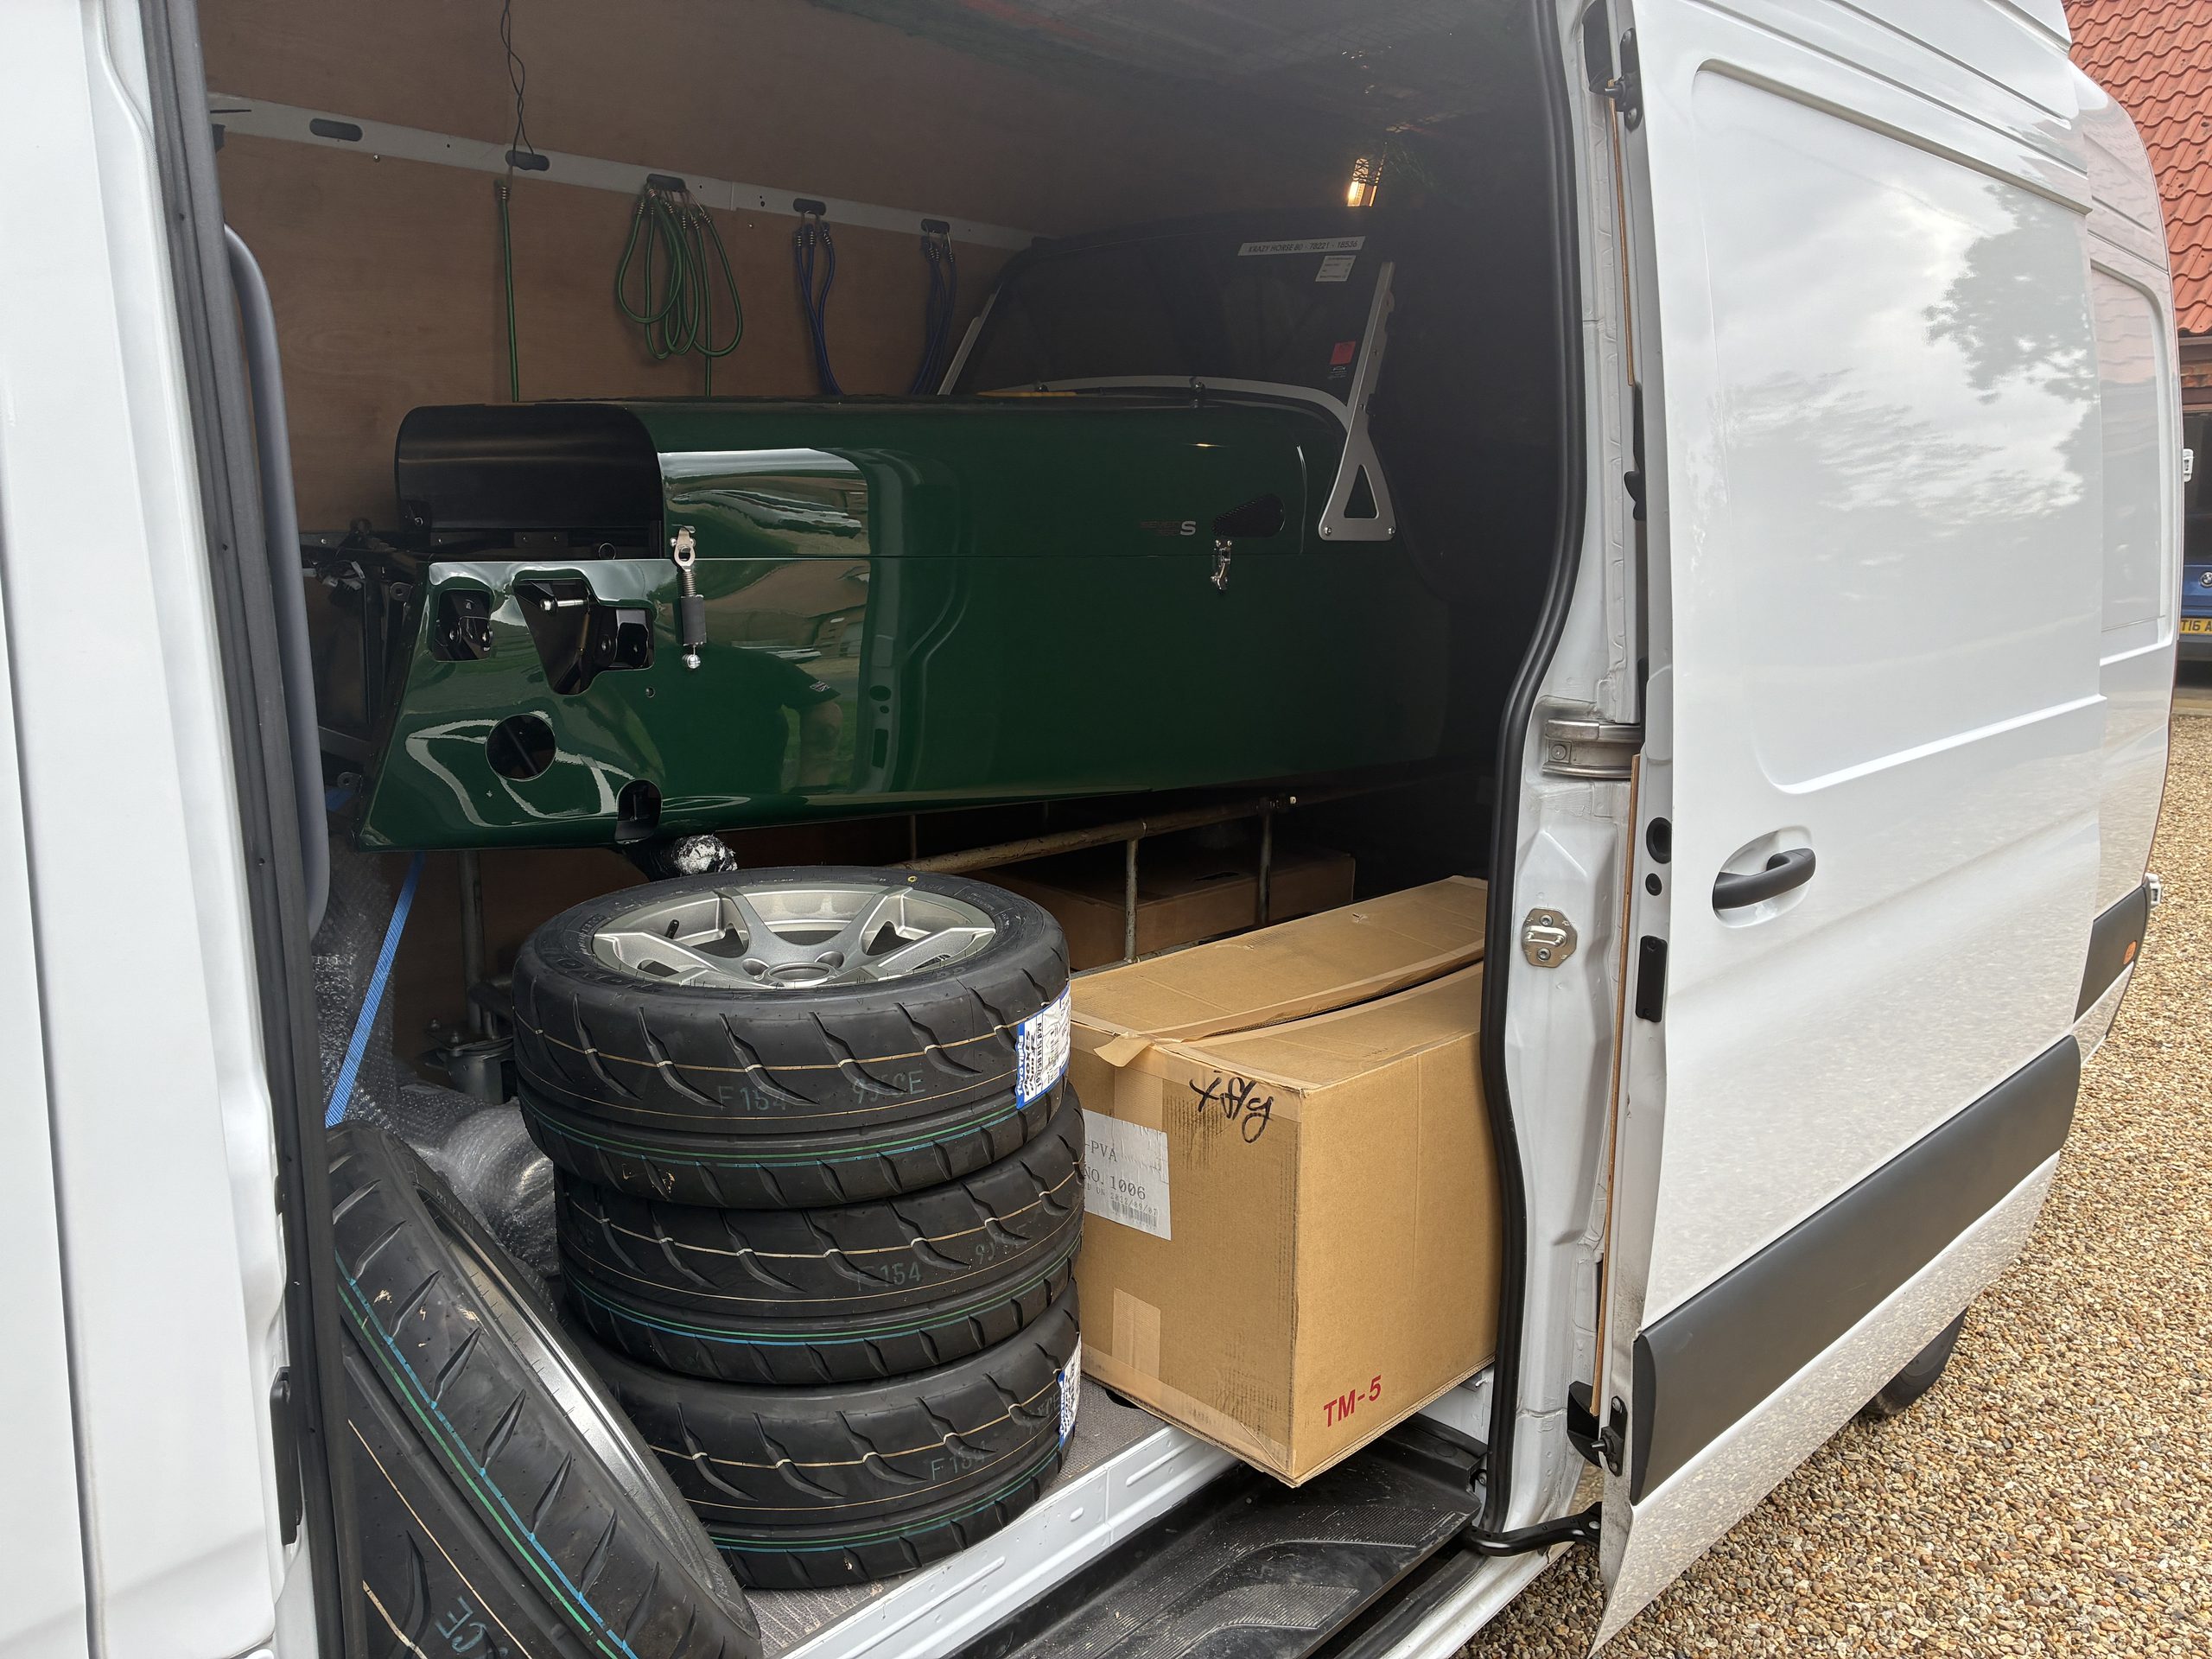
After a long wait, my Caterham 360 kit finally arrived on 23 September 2026. Before it arrived, however, there was quite a lot of preparation to do.
I wanted the garage ready and the main pieces of equipment assembled in advance so that once the kit was delivered, I could get everything unloaded safely and begin the build without immediately discovering that I was missing something essential.
Preparing The Workshop
One of the first things I bought was a set of CJ Autos wheeled axle stands, costing £189.60.
These seemed particularly suitable for the Caterham because they would allow the car to be supported at a useful working height while still making it possible to move the chassis around the garage if necessary.
When I assembled them, I found that the sliding square-section tubes had rather more movement in them than I liked. The stands were perfectly usable, but they felt a little rickety.
I therefore made some thin shims from 1 mm and 2 mm acetal sheet, which I bonded inside the outer sections. This removed most of the unwanted play while still allowing the joined sections to slide freely.
It was only a small modification, but it made the stands feel considerably more substantial and better suited to supporting the car throughout the build.
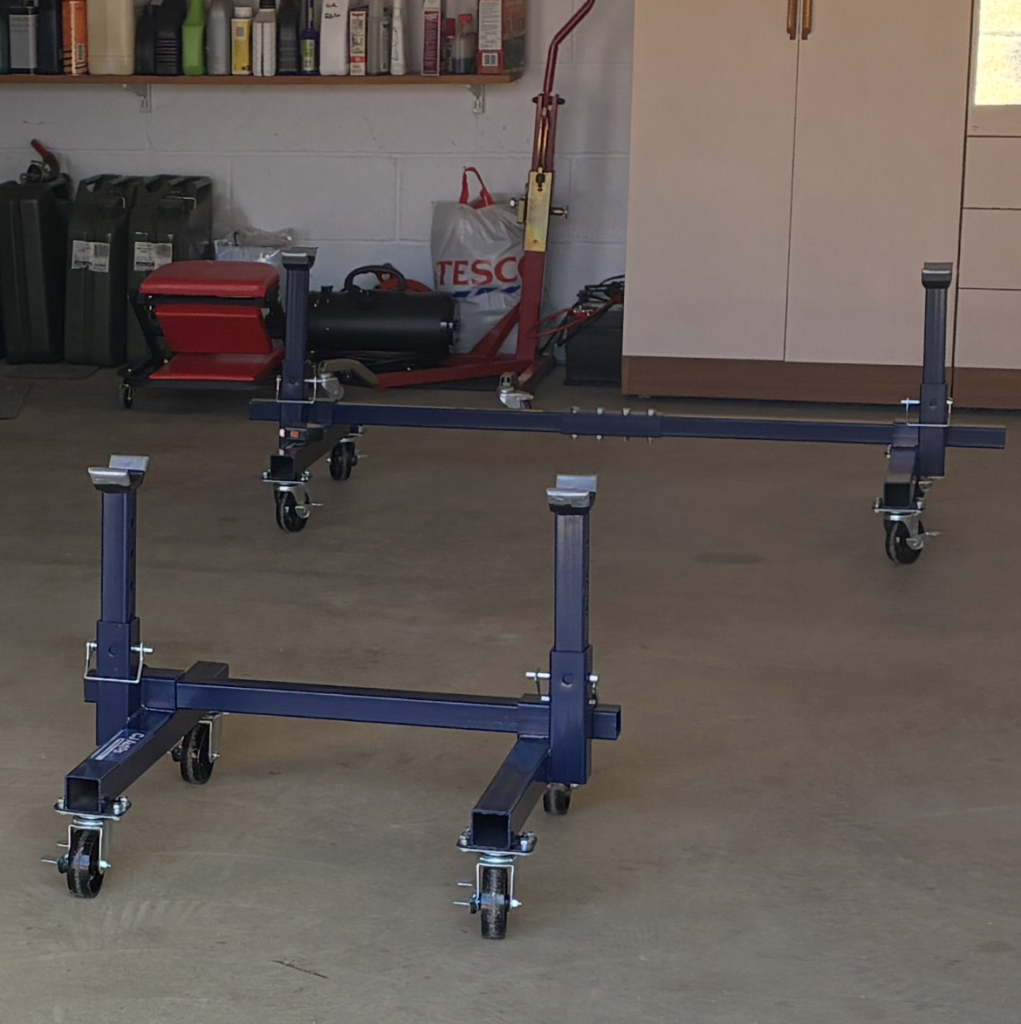
CJ Autos wheeled axle stands, with the narrower front and wider rear stand
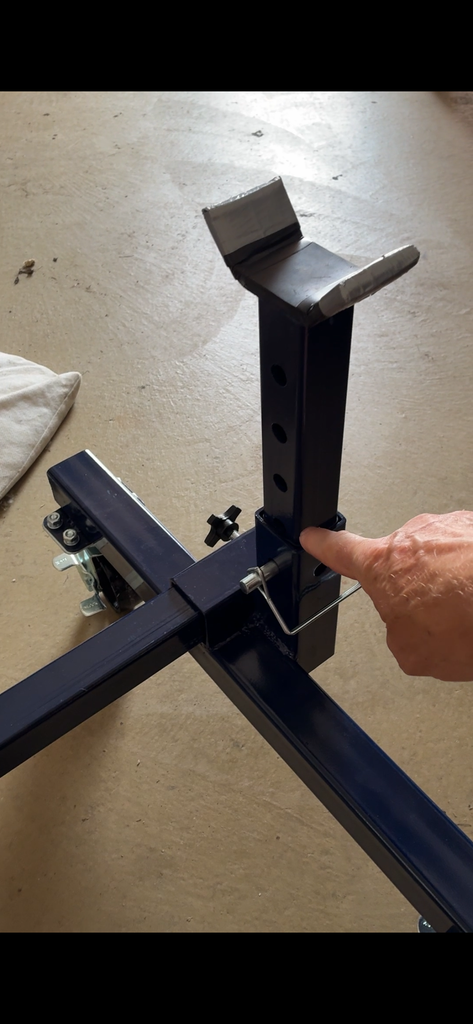
Note the rubber-covered support surface where the stand contacts the chassis. Although not visible, Acetal shims were bonded to the inside faces of all the large square sections to reduce unwanted movement and give much greater rigidity of the stands when assembled . . .
Engine Crane and Load Leveller
I bought a Clarke CFC100 Strongarm 1-tonne folding engine crane which was on special offer from Machine Mart for £219. It is supplied in two fairly substantial boxes and needed assembling before the Caterham arrived.
Although the Duratec engine is not especially heavy compared with some engines, installing an engine and gearbox into a Caterham is still one of the more significant jobs in the build and so I wanted to have a proper crane available rather than trying to improvise.
To go with the crane I also bought an SGS load leveller, rated at 680 kg and costing £31.98.
The load leveller fits between the crane and the engine and allows the angle of the engine and gearbox assembly to be altered while it is being lowered into the chassis.
The ability to change the angle would ordinarily be particularly useful when feeding the gearbox down into the transmission tunnel, however, I intend to take the leaf out of another builder’s book (thank you Stephen) and install the engine and gearbox separately.
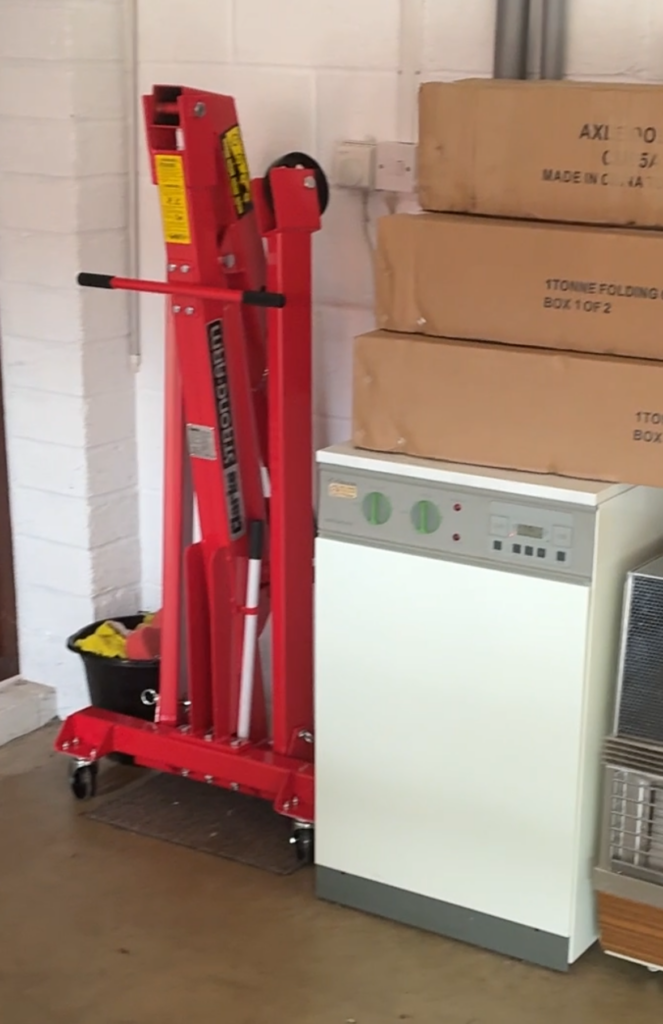
Clarke CFC100 1-Tonne folding engine crane, assembled and ready for the build.
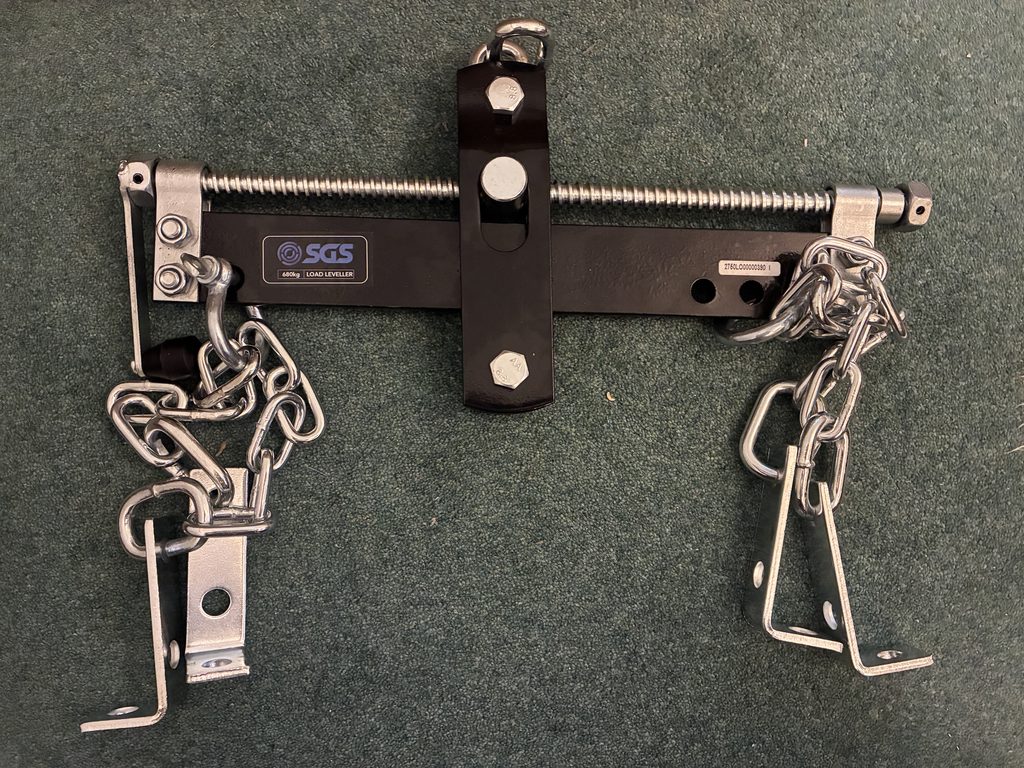
SGS 680KG Load Leveller, which will allow the engine angle to be adjusted during installation
Convertible Car Creeper
Another useful piece of workshop equipment I bought was a convertible car creeper.
It can be used in two different configurations. Folded flat, it works as a conventional wheeled creeper, allowing me to lie on my back and roll underneath the car. It can also be folded into a low wheeled seat, which should be very useful when working around the suspension, brakes and other parts of the car close to floor level.
I had also seen another Caterham builder make particularly good use of a similar creeper by placing the gearbox on it and using it as a low trolley to manoeuvre the gearbox underneath the car prior to installation.
Whether I use mine in exactly the same way remains to be seen, but it seemed a relatively inexpensive and versatile addition to the workshop.
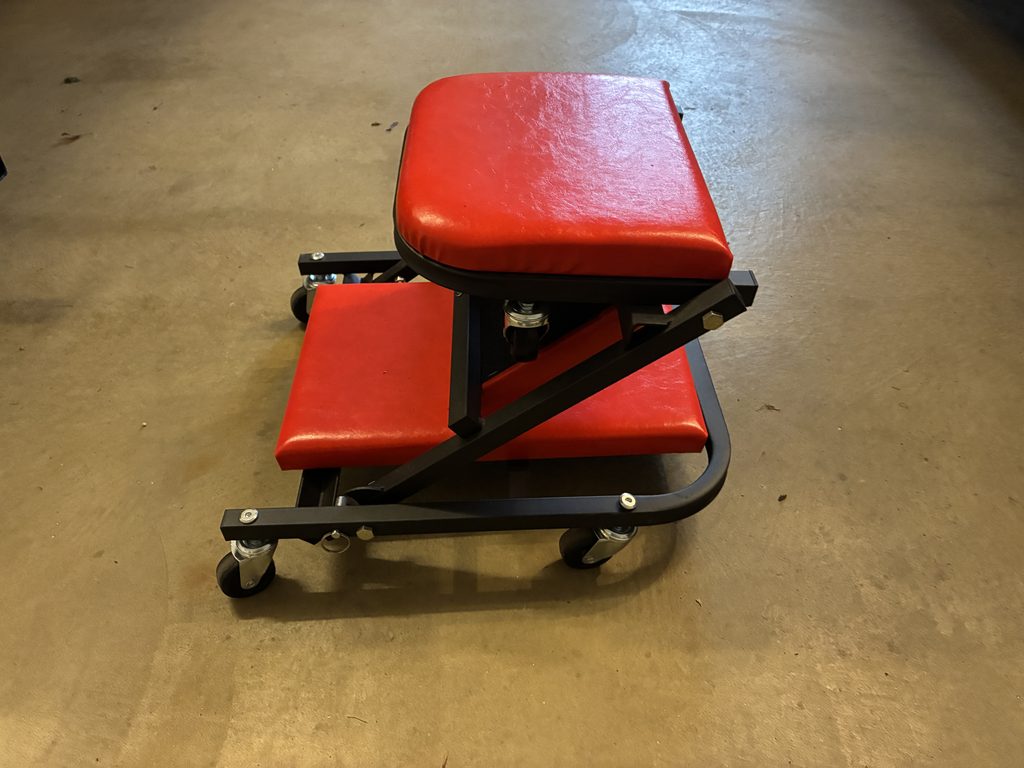
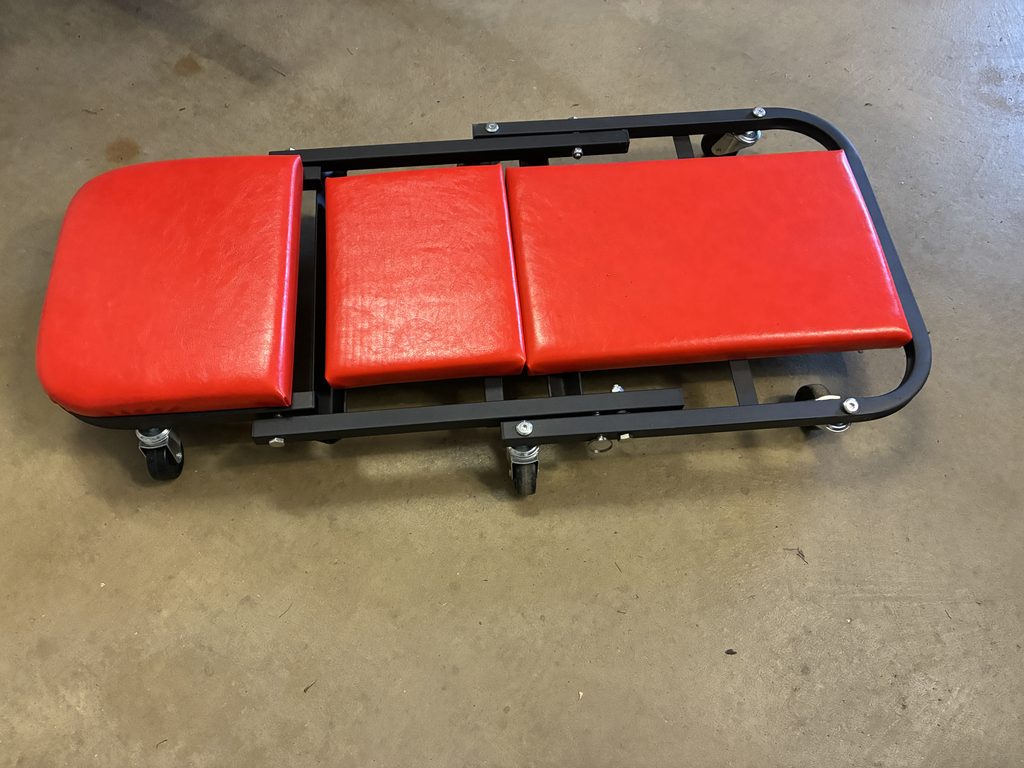
Convertible car creeper – flat for working underneath the car, or folded into a wheeled workshop seat.
Waiting For The Kit
With the main equipment assembled and the garage prepared, it was then largely a matter of waiting.
The delivery had been delayed from the original expectation, so by the time the actual delivery date arrived I had already had plenty of time to get everything organised.
Then, on 23 September 2026, the Caterham finally arrived.
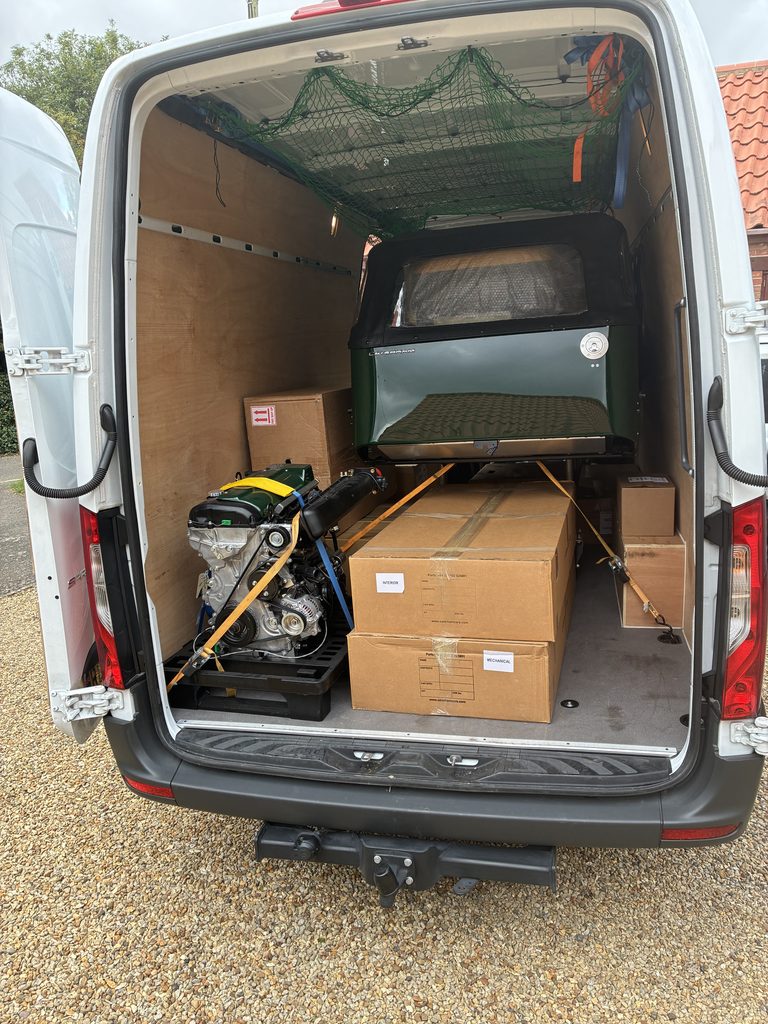
The kit is delivered very differently from the way most people encounter a new car.
Rather than a completed vehicle arriving on a transporter, the main painted chassis and body assembly is accompanied by a surprisingly large collection of boxes and loose components.
My kit consisted of 14 cardboard boxes, together with a number of larger loose items including the wheels, exhaust pipe, nose cone and mudguards.
Unloading The Caterham
The first priority was to get the main chassis safely off the delivery vehicle and into the garage.
Once the chassis had been unloaded, it could be positioned on the wheeled stands that I had prepared earlier.
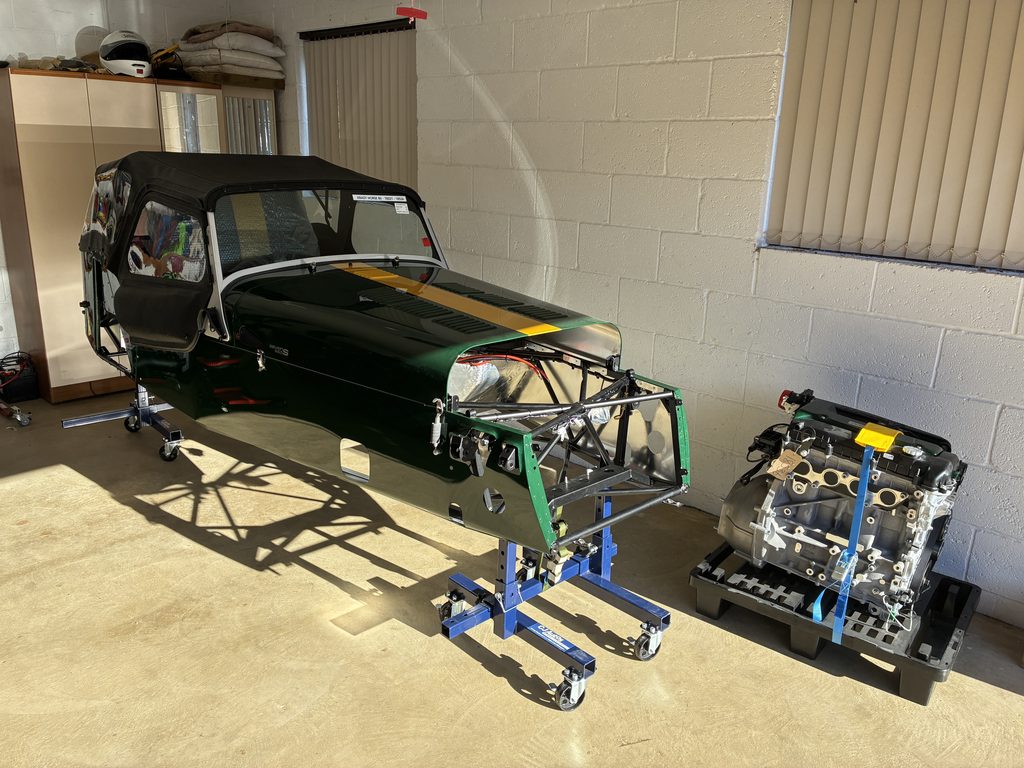
I need to keep my workspace uncluttered and so for now at least, only the engine, gearbox and main chassis will live in the garage. The remaining boxes and loose components now reside in the spare bedroom after being brought inside from the barn!
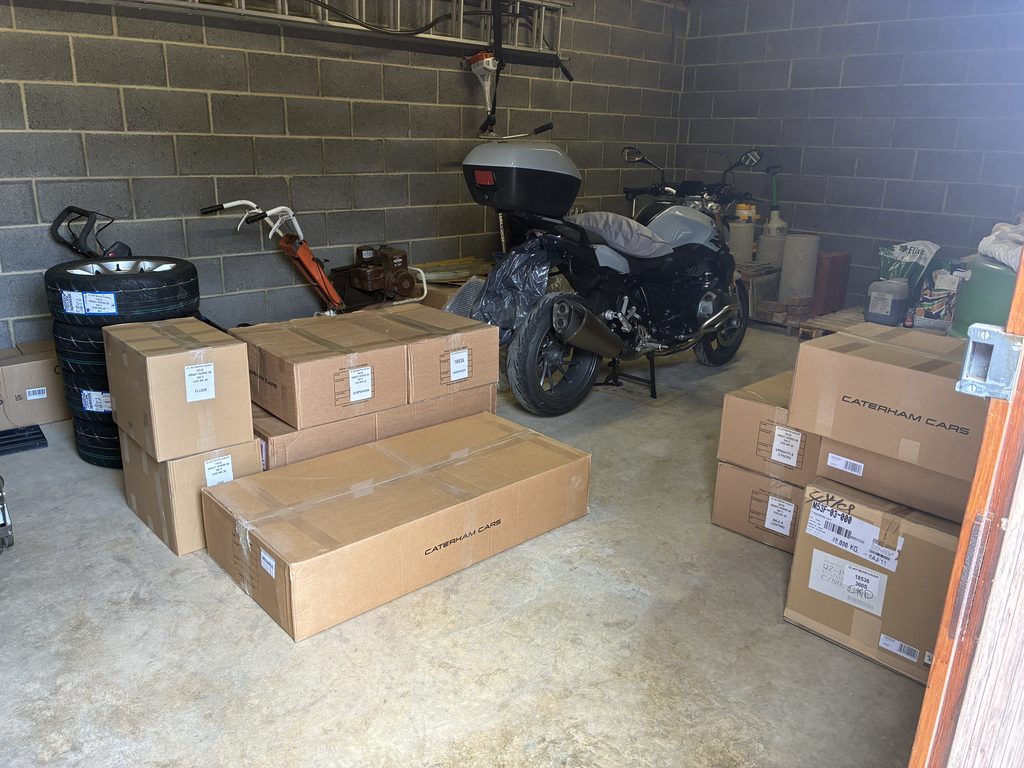
Seeing everything together for the first time made the scale of the project rather more apparent. A complete car may ultimately emerge from all of this, but at this stage it was essentially one painted chassis accompanied by fourteen boxes and a considerable number of individual parts.
First Inspection
Before doing anything else, we carried out a brief inspection of the main body shell.
With a painted aluminium-bodied car such as the Caterham, there is always the possibility of minor damage occurring during transport or unloading, so I wanted to check the paintwork before beginning to move things around unnecessarily.
Fortunately, everything looked perfectly fine. I could not find any damage to the bodywork or paint, which was a reassuring way to finish the delivery process.
The next job would be rather less exciting, but probably just as important: opening all fourteen boxes, checking their contents against the supplied lists and making sure that all the individual fixing kits were present.
My plan was also to write the contents of each box on the outside as I went along. With so many individual components involved in the build, I hoped that a little organisation at this stage might save a great deal of searching later.
That, however, would be the next stage of the build.
Leave a Reply